
lemon square top ♡
you can download this pattern as an ad-free PDF: https://www.autumnolive.com/shop-patterns/p/lemon-square-top
♡ an autumn olive crochet original pattern by autumn olivia ward
do not sell, copy, or claim this pattern as your own.
written in standard US crochet terms
you may sell items made using this pattern! please credit me as the designer in your listings and include the link to this pattern.
@autumnolivecrochet on all socials, tag me when you post your creations!
youtube tutorial: https://youtu.be/xMw6nnu5SVc
20 MORE Mabel Pines sweaters !!! click to get the second edition
materials ♡
size H/8-5mm crochet hook (used in example)
sugar ‘n cream size 4 cotton yarn (used in example)
made to measure and easily customizable, so feel free to experiment with different yarn weights or stitches
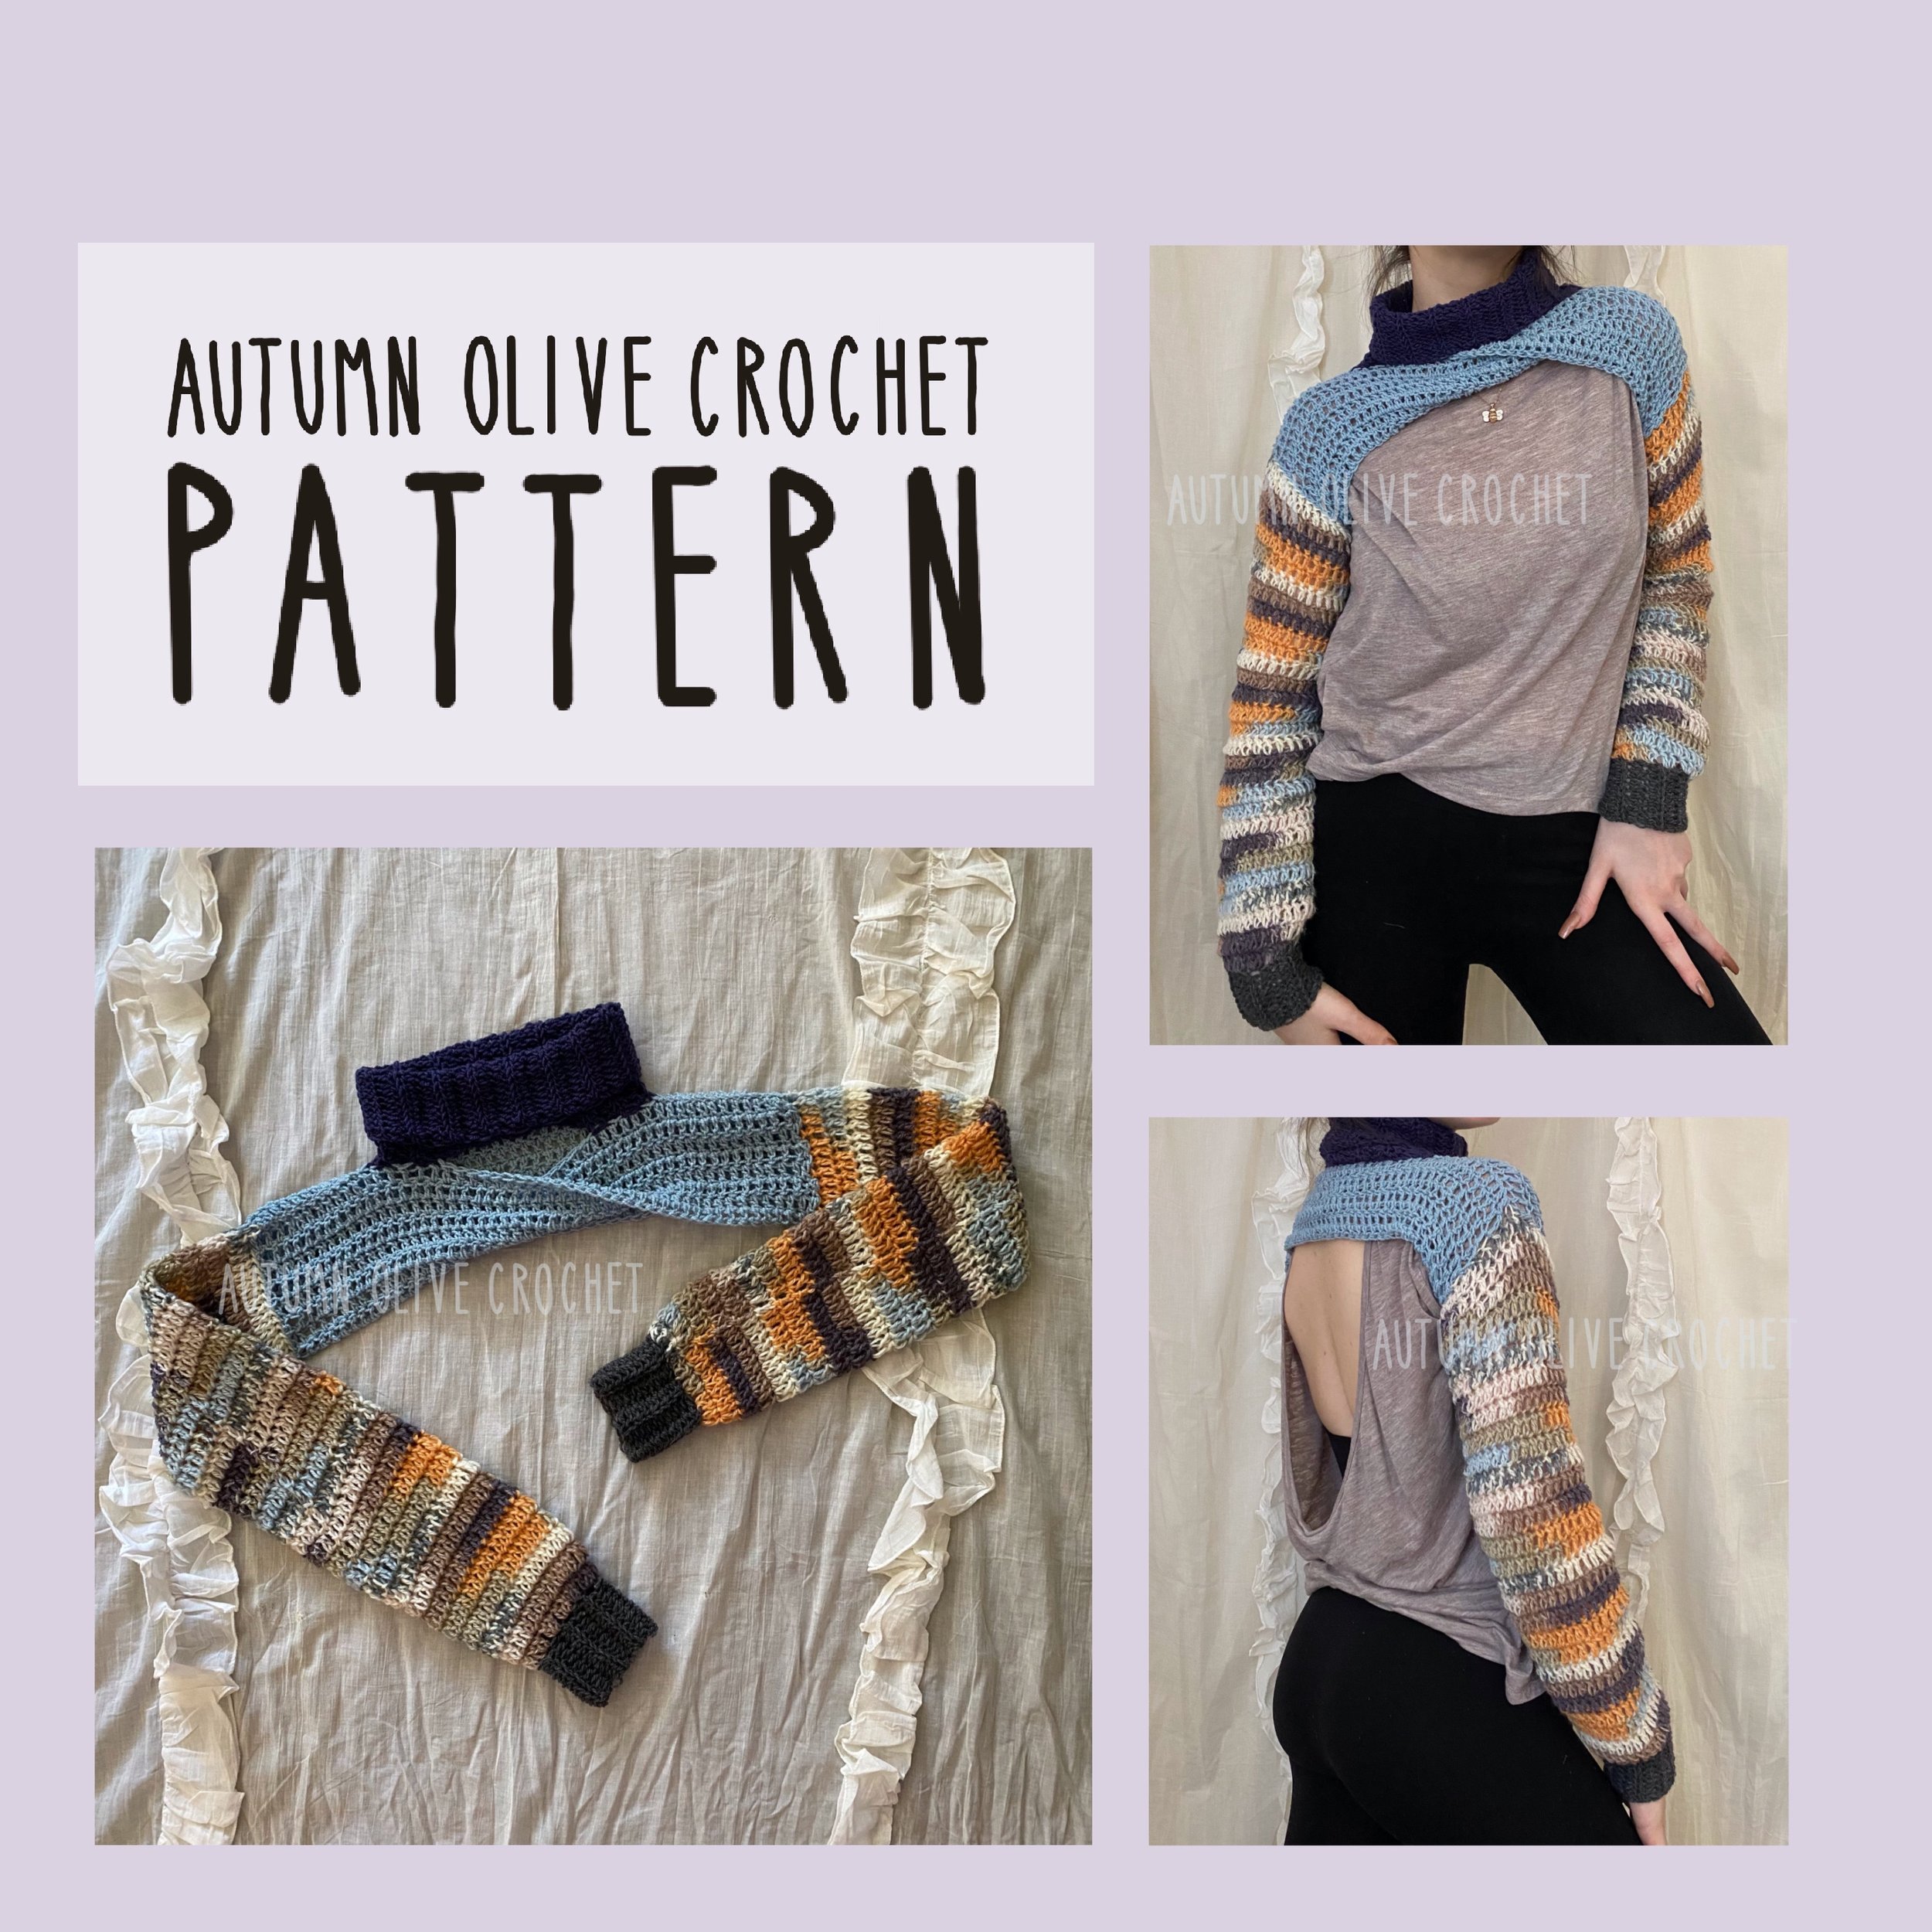
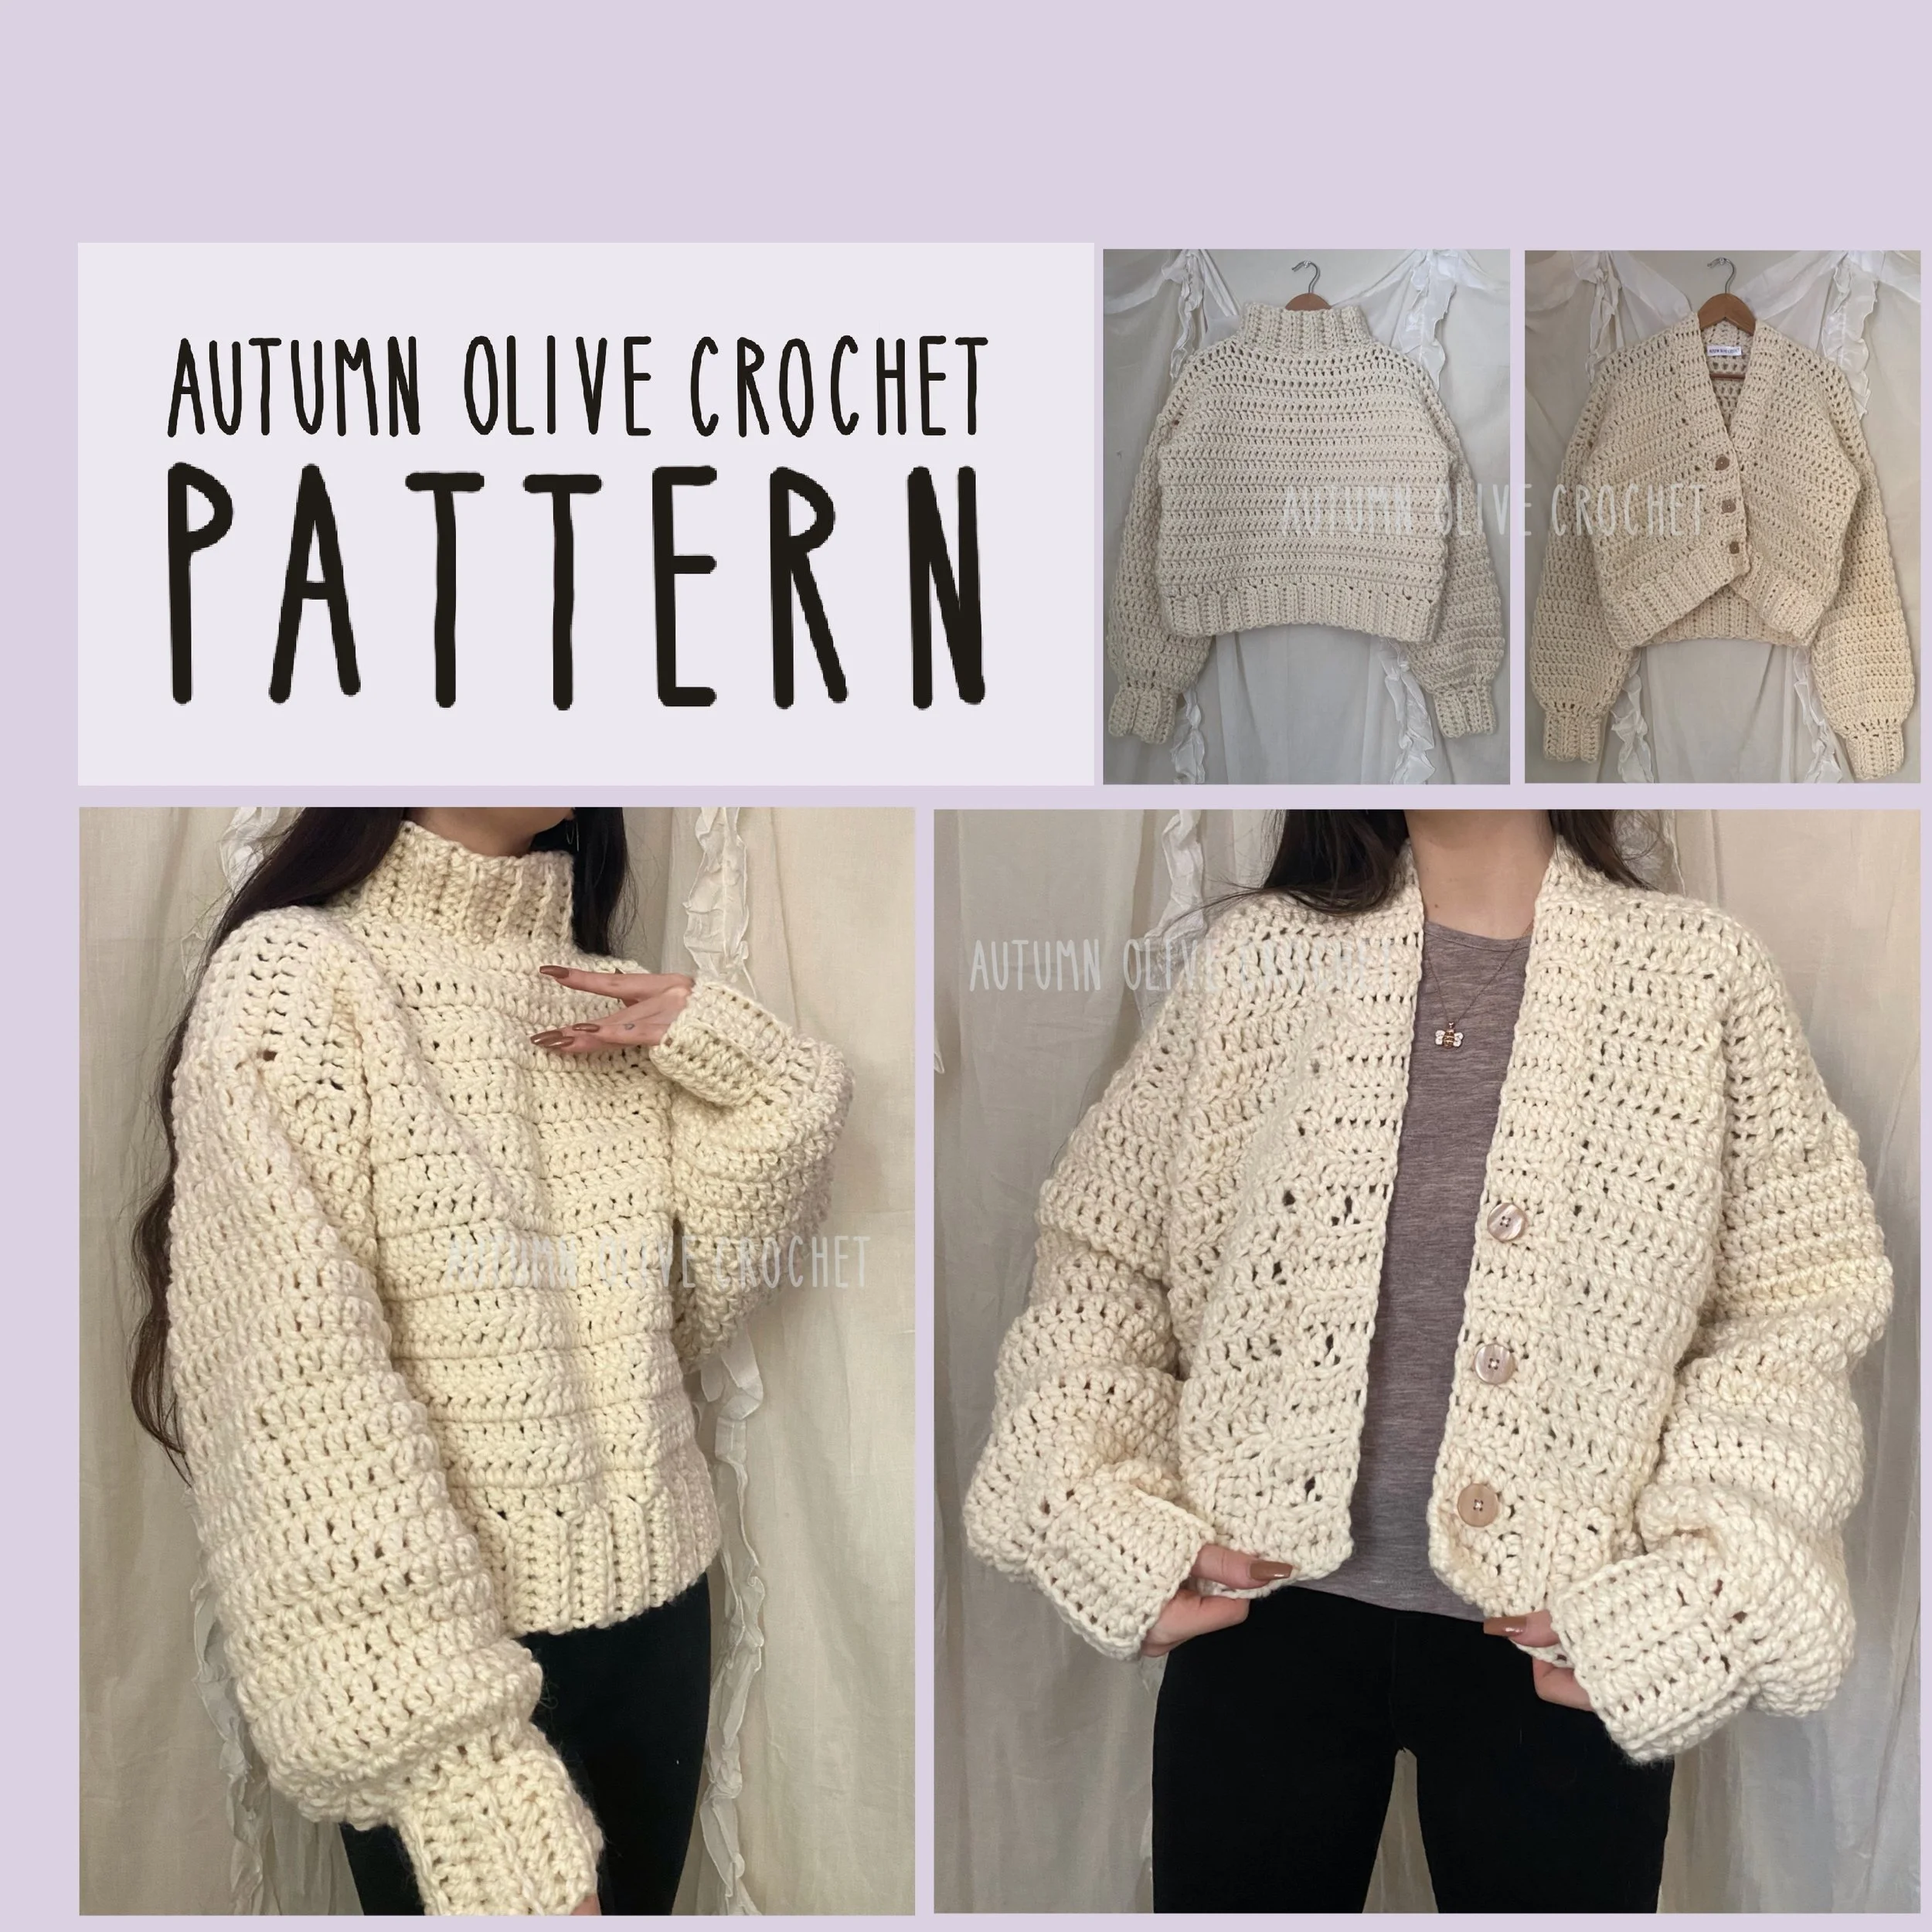
take your look to the next level by adding the turtledove half sweater as a layering piece! ♡ click to get the pattern
info ♡
the lemon square top is worked all in one piece aside from the neck tie strap which can be changed out for a ribbon or necklace chain
this piece uses the lemon peel stitch: here is a good tutorial if the instructions below are confusing
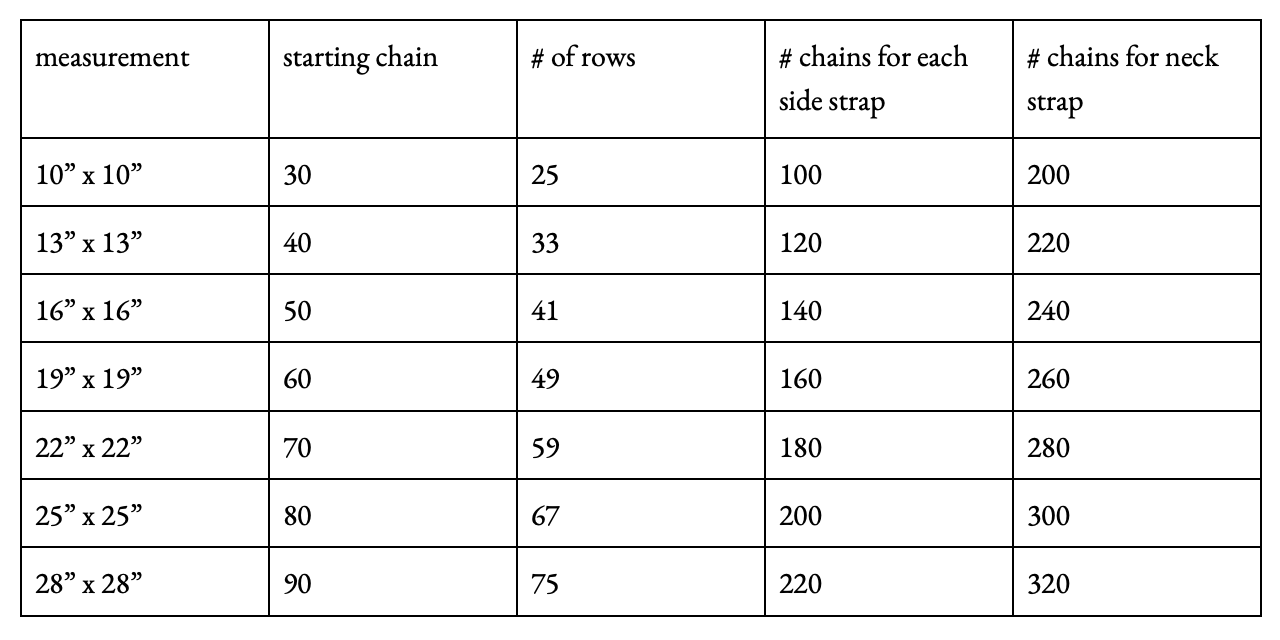
scroll to the bottom for a suggested sizing chart! it is based on using size 4 cotton, so if you are using something else just take it as a reference and work your top in a made to measure fashion
PATTERN ♡
starting between the collarbones at the bottom of the neck, measure length to where you would need the side corner to be
create a chain that reaches that length, with an even number of chains; chain 1, turn
working into the second loop from the hook: single crochet into the first stitch, double crochet into the second stitch, repeat across; chain 1, turn
repeat the last row as many times as needed until you have an odd number of rows which match the same length of your starting chain; in other words, you now have a square, do not fasten off
from here you will chain the length needed for one side strap, the lemon square top will tie in the back so be sure to leave length for the bow/knot etc. I followed the 10” x 10” numbers below, so I made 100 chains for one side strap
chain 1 and slip stitch into the second chain from the hook and in each chain across until you get back to the square
you just made the right side strap and your starting tail should be facing the tip top
now this part can be tricky, so use stitch markers to help split it up into sections if needed; you’ll be working up the right slope of the square into the side of the rows. now work as many slip stitches across here as your number of starting chains. for example if I started with 30 chains and worked 25 rows, I now need to slip stitch 30 into the side of those 25 rows
chain 3, this will be the loop for the neck strap; now working down the left slope, slip stitch into each of your starting chains
now chain the same number of chains used for your first side strap, chain 1, slip stitch into the second chain from the hook and in each chain across until you get back to the square; fasten off.
on a new string, chain the number of stitches needed to tie around the neck, be sure to leave length for the bow/knot etc. chain 1 and slip stitch into the second chain from the hook and in each chain across until you get back to the start; fasten off.
thank you ♡
tag me in your posts so I can see your creations!!
@autumnolivecrochet
for colder weather, here’s another favorite! click to get the puzzle piece seamless cardigan and sweater, worked all in one piece