
baby bean plushie tag ♡
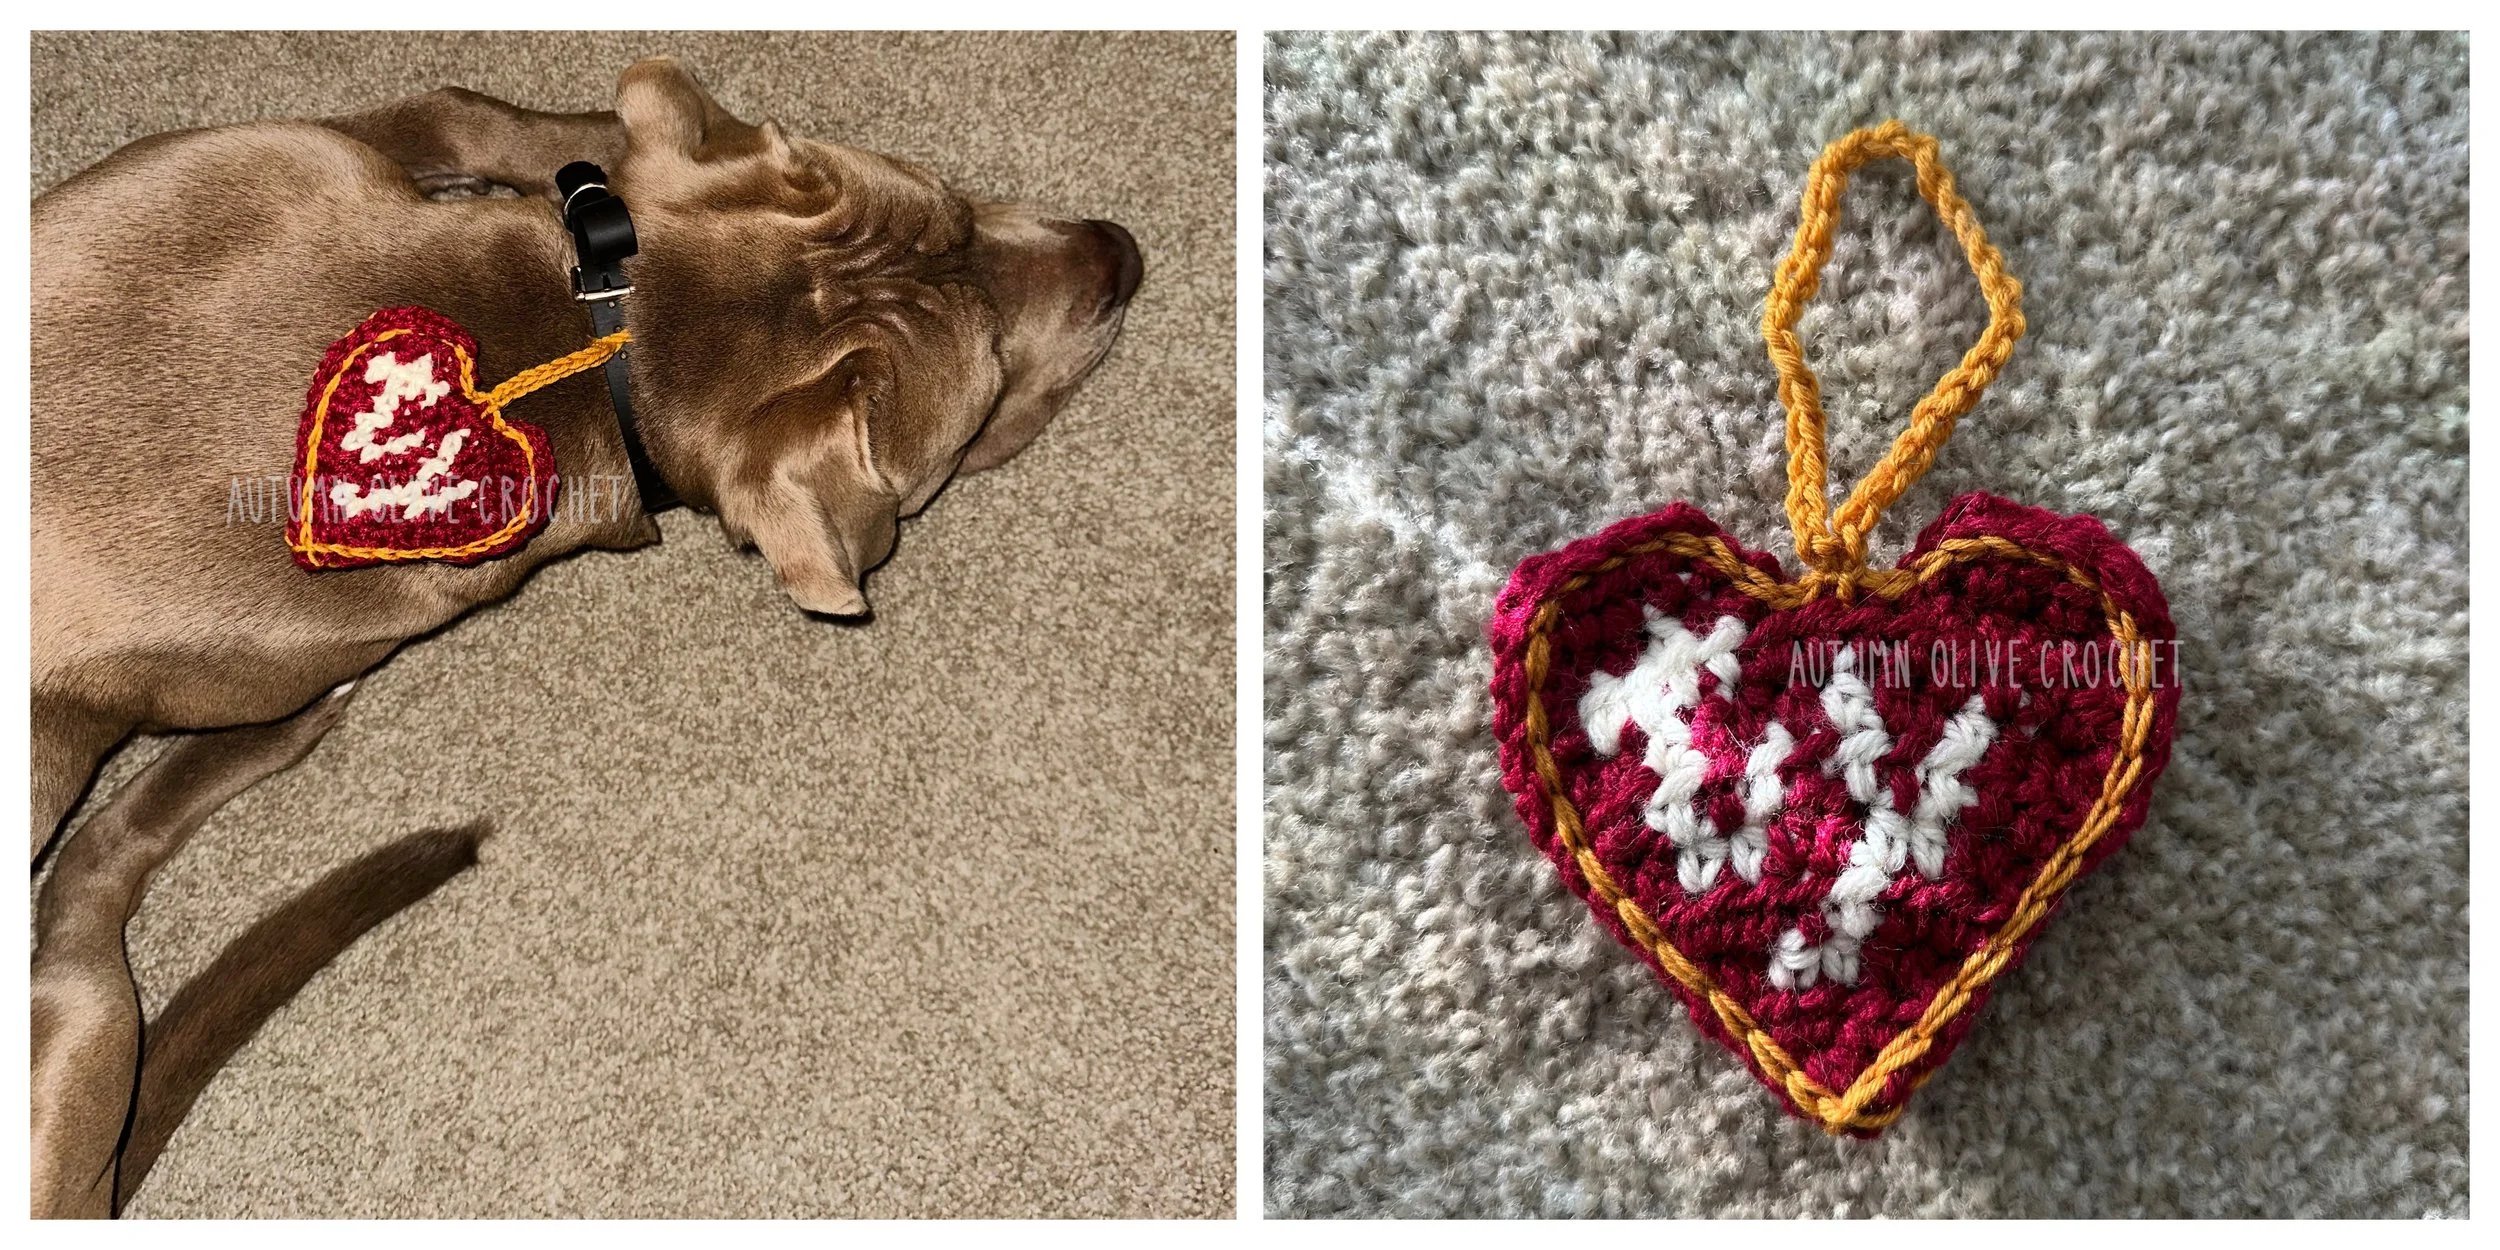
Moose™
DATE OF BIRTH: February 28, 2022
an autumn olive crochet pattern by autumn olivia ward
inspired by Ty company original Beanie Babies
written in standard US crochet terms
@autumnolivecrochet on all socials, please tag me when you post your creations!
AD-FREE PDF $2.22 DOWNLOAD https://www.autumnolive.com/shop-patterns/p/beanie-baby-pet-plushie-tag
YOUTUBE TUTORIAL: https://youtu.be/zNEDp3-5vD0

costume sweaters for pets is made to measure!
MATERIALS:
- 30g/60yd of red weight 4 medium yarn (worsted weight)
- 10g/20yd each of white & yellow weight 4 medium yarn (worsted weight)
- 5mm crochet hook (US H/8) or smaller*
- scissors & yarn needle
ABBREVIATIONS & TECHNIQUES:
- chain (ch)
- half double crochet (hdc)
- slip stitch (sl st)
GAUGE:
- 5 rows of 6 hdc = 2x2 inches
NOTES: this project takes about 1 hour
* with the gauge in this pattern, this tag will end up about 4” by 4” so if you would like a smaller one just size down on your hook, yarn, and tension
♡ MY COLORWORK INSTRUCTIONS ♡
this project must be done in HDC & 1 graph square = 1 HDC
even numbered rows will be the wrong side if you are right handed
odd numbered rows will be the wrong side if you are left handed
must start on an odd row as written; read the graph from right to left on odd rows, and left to right on even rows

https://www.stitchfiddle.com/c/sji776-35ifdb
use this link to track your progress or make a copy to edit
start in red with a chain 2, turn, turning chains do not count as stitches
R = red, W= white; working in hdc
row 1: increase into the 1st chain (2) chain 1, turn
row 2: increase across (4) chain 1, turn
row 3: R-increase, W-2 hdc, R-increase (6) chain 1, turn
row 4: R-increase, 2 hdc, W-1 hdc, R-1 hdc, increase (8) chain 1, turn
row 5: R-increase, W-2 hdc, R-2 hdc, W-2 hdc, R-increase (10) chain 1, turn
row 6: R-increase, W-1 hdc, R-1 hdc, W-1 hdc, R-1 hdc, W-1 hdc, R- 1 hdc, W-1 hdc, R- 1 hdc, increase (12) chain 1, turn
row 7: R-increase, 1 hdc, W-1 hdc, R-2 hdc, W-1 hdc, R-3 hdc, W-1 hdc, R-1 hdc, increase (14) chain 1, turn
row 8: R-1 hdc, W-4 hdc, R-9 hdc (14) chain 1, turn
row 9a: R-6 hdc (6) chain 1, turn
row 10a: R-decrease, 2 hdc, decrease (4)
fasten off; orient your piece back to where the front is facing you, pull up a loop in red in the 6th stitch from the left, working into that same stitch
row 9b: R-2 hdc, W-1 hdc, R-3 hdc (6) chain 1, turn
row 10b: R-decrease, 2 hdc, decrease (4)
fasten off, tie or weave in ends (they will be tucked inside)
make another identical (or plain) heart and hold them back to back to attach — pull up a loop in yellow at the notch in the top of the hearts, work a slip stitch to connect every stitch & the side of every row around
when you get back to the top, slip stitch to close, then chain enough to loop around your pets collar (about 20-30 chains) or twice the circumference of their neck to loop it around without a collar ♡
